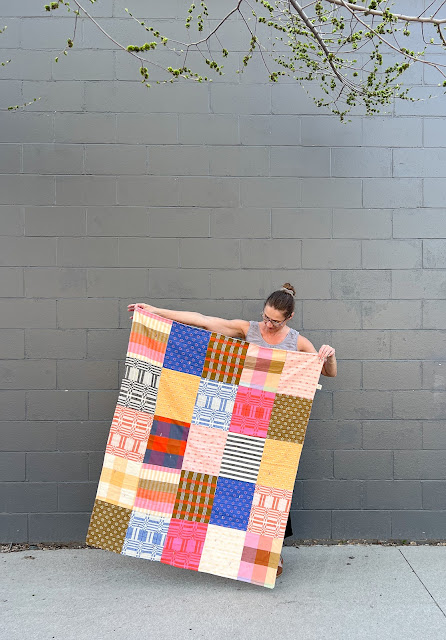
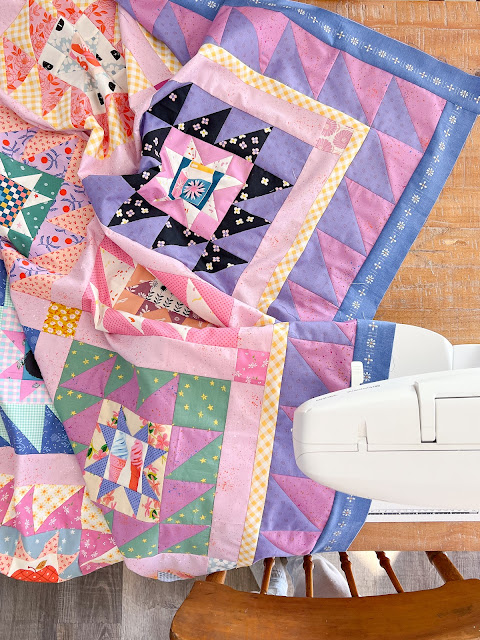
A quilt in two hours?? Yes, it can be done!
I planned this quilt as a beginner project for a kid's (Grades 4-6) quilt workshop at my school - knowing the skill level and time constraints, I wanted something simple and practical for beginners to accomplish, with it still being a good size for snuggling with!
I also see this being a great tutorial for quick baby and toddler gifts, who doesn't love that?
The quilt finishes at 42" x 52".
Now, I was in a hurry when making this project, so I did not take a lot of photos, but hopefully what I do have will work!
Fabric Requirements:
(25) 9" x 11" rectangles (I cut assorted pieces from a Fableism Swedish Holiday FQ bundle)
(1) piece of batting the same size as your quilt top
1 1/2" yards backing fabric
Sewing the quilt top:
1) Sew (5) rectangles right sides together along the long edge to form a row
2) Repeat to make (5) rows
3) Press row seams in alternating directions so that they will nest
4) Sew rows together, nesting seams
5) Press seams open
Okay - so the cutting and sewing of the quilt top took me one hour to complete - crazy, right?
Next, the basting, backing and finishing took one additional hour. A two-hour quilt!
I chose to finish the quilt without binding to keep it simple, however, if you have the know-how to baste, quilt and bind the traditional way, go for it! Be aware that it may take more than two hours to finish in this case.
How to finish a quilt without binding:
I followed a great tutorial from Quilts with Jen (it has a ton of photos if you need them!)
Here's what I did -
1) Spray baste the top to the batting - trim the batting to be the exact size of the top.
2) Lay the backing RIGHT SIDES TOGETHER to the quilt top - trim the backing to the exact size.
3) Pin, pin, pin in place so that the backing doesn't slip when you're sewing.
4) Sew a 1/2" seam all away around the edge of the quilt, leaving a gap large enough to turn it right side out.
5) Turn quilt right side out by sticking your arm through the gap and gently pulling it through.
5) Press, making sure that the edges are even.
6) Sew the gap closed by machine or hand.
7) Top stitch 1/2" from the edge all the way around the quilt.
And you're almost done!
I added a cute Sarah Hearts tag to my quilt as I was sewing the backing on - it's the details!!
The last thing you need to do if you are not quilting is to add tacking or ties to the quilt so that the layers don't bunch up over time. Let's keep them in place!
You could hand tie the quilt, but I wanted something easier and faster for my workshop, so I chose a machine tacking method - it's super fast and easy!
To machine tack:
1) Set your machine to zig-zag stitch
2) Shorten the stitch length to 1.5-2.0
3) Stitch about 1/2-1", backstitch the same amount, then forward stitch again
4) Set your stitch (locking/fixing, or tie thread)
5) Move to a new spot and repeat!
I placed two tacks on each block - this way they are spaced pretty evenly as per the batting recommendations.
And there you have it!
A quilt in two hours, ready for snuggles!
Save this post to Pinterest for future reference!


